Features
Every Clipcat feature, explained in plain language. Jump to whichever one you need.
Your First Run
The first time you open Clipcat, a short tour points out the search box, the Add Clip button, a clip card, the settings gear, and the About button. Click Next to move through it and Got it! to finish. It only shows once.
You can reopen the help at any time. Click the ⓘ button in the top-left corner and choose How to Use, or open the command palette and pick How to Use Clipcat.
Automatic Capture
The moment you press Ctrl+C (or ⌘+C on Mac), Clipcat saves it. Text, rich text, and images are all captured. You do not have to set anything up first.
Quick Paste Mode
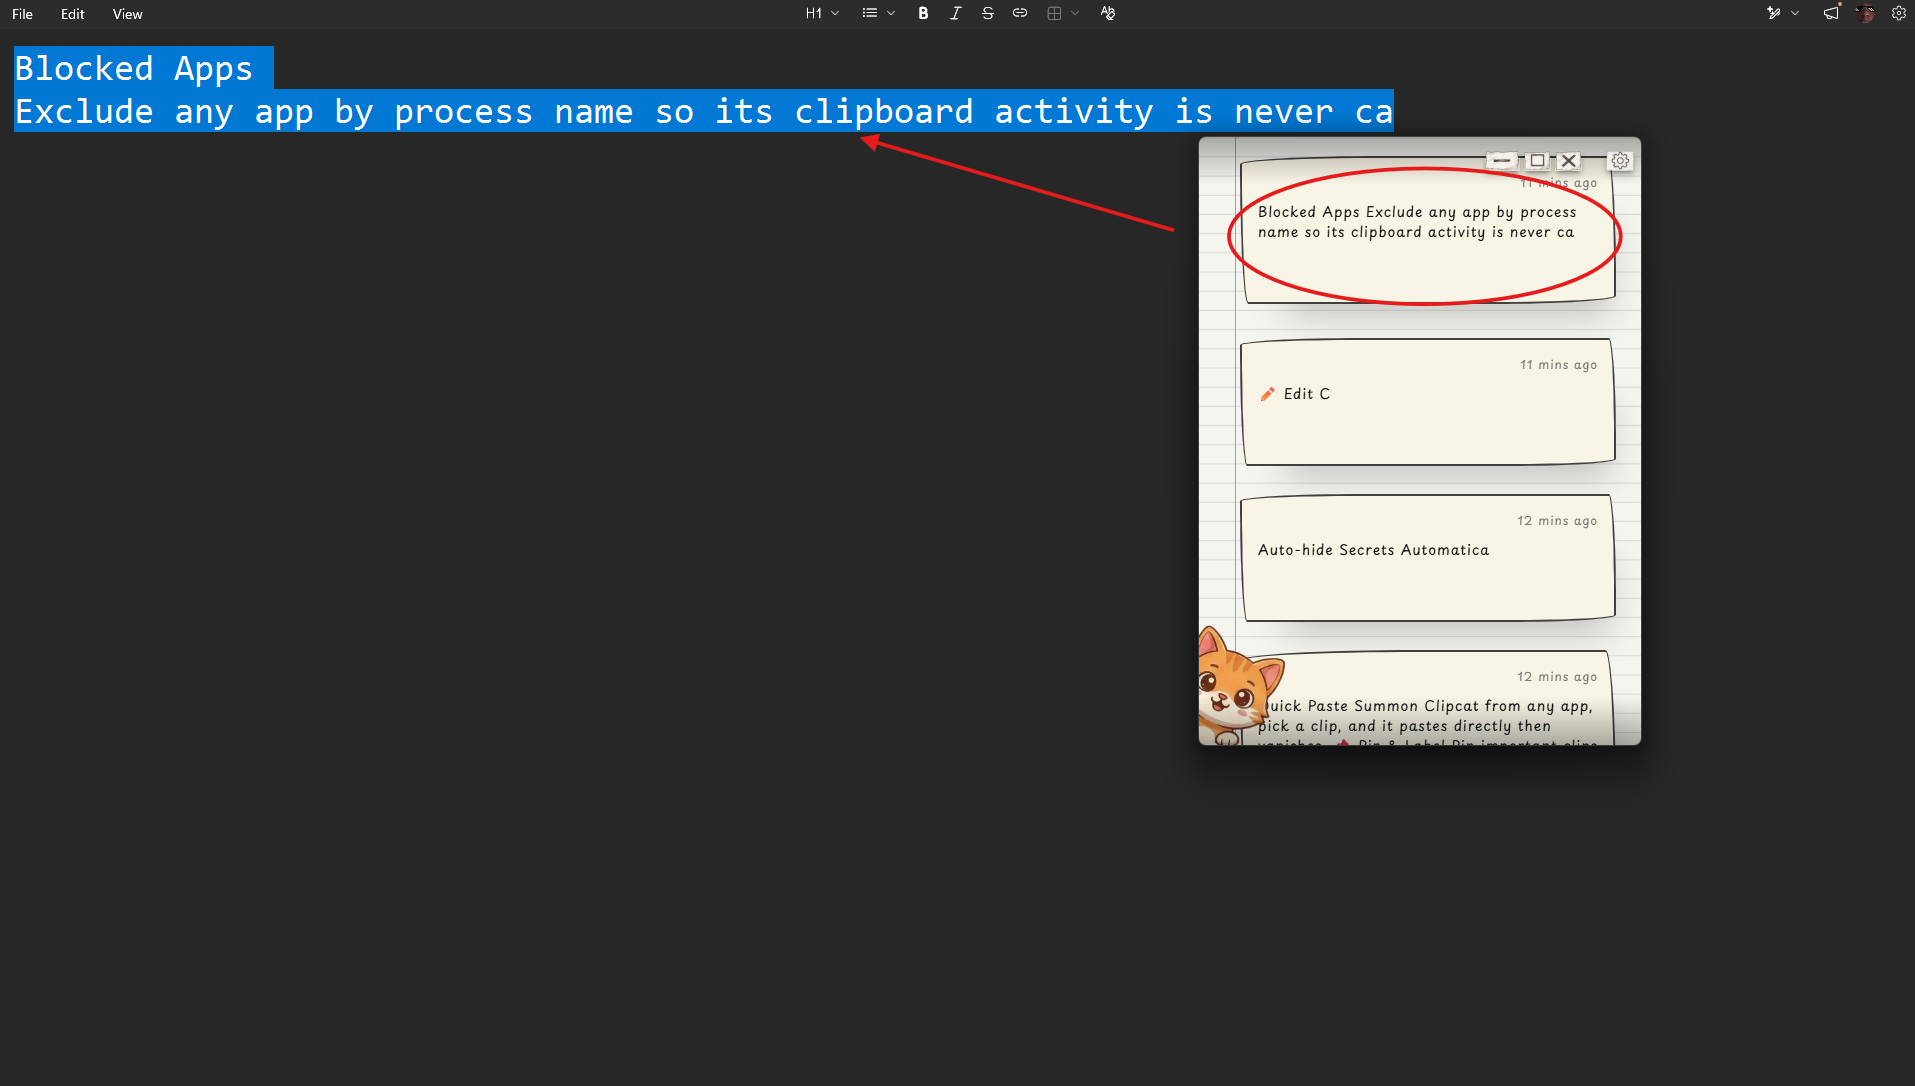
Enable Quick Paste in Settings, then:
- Work in any app
- Copy something, or remember something you copied earlier
- Press Ctrl+Shift+V (or ⌘+Shift+V)
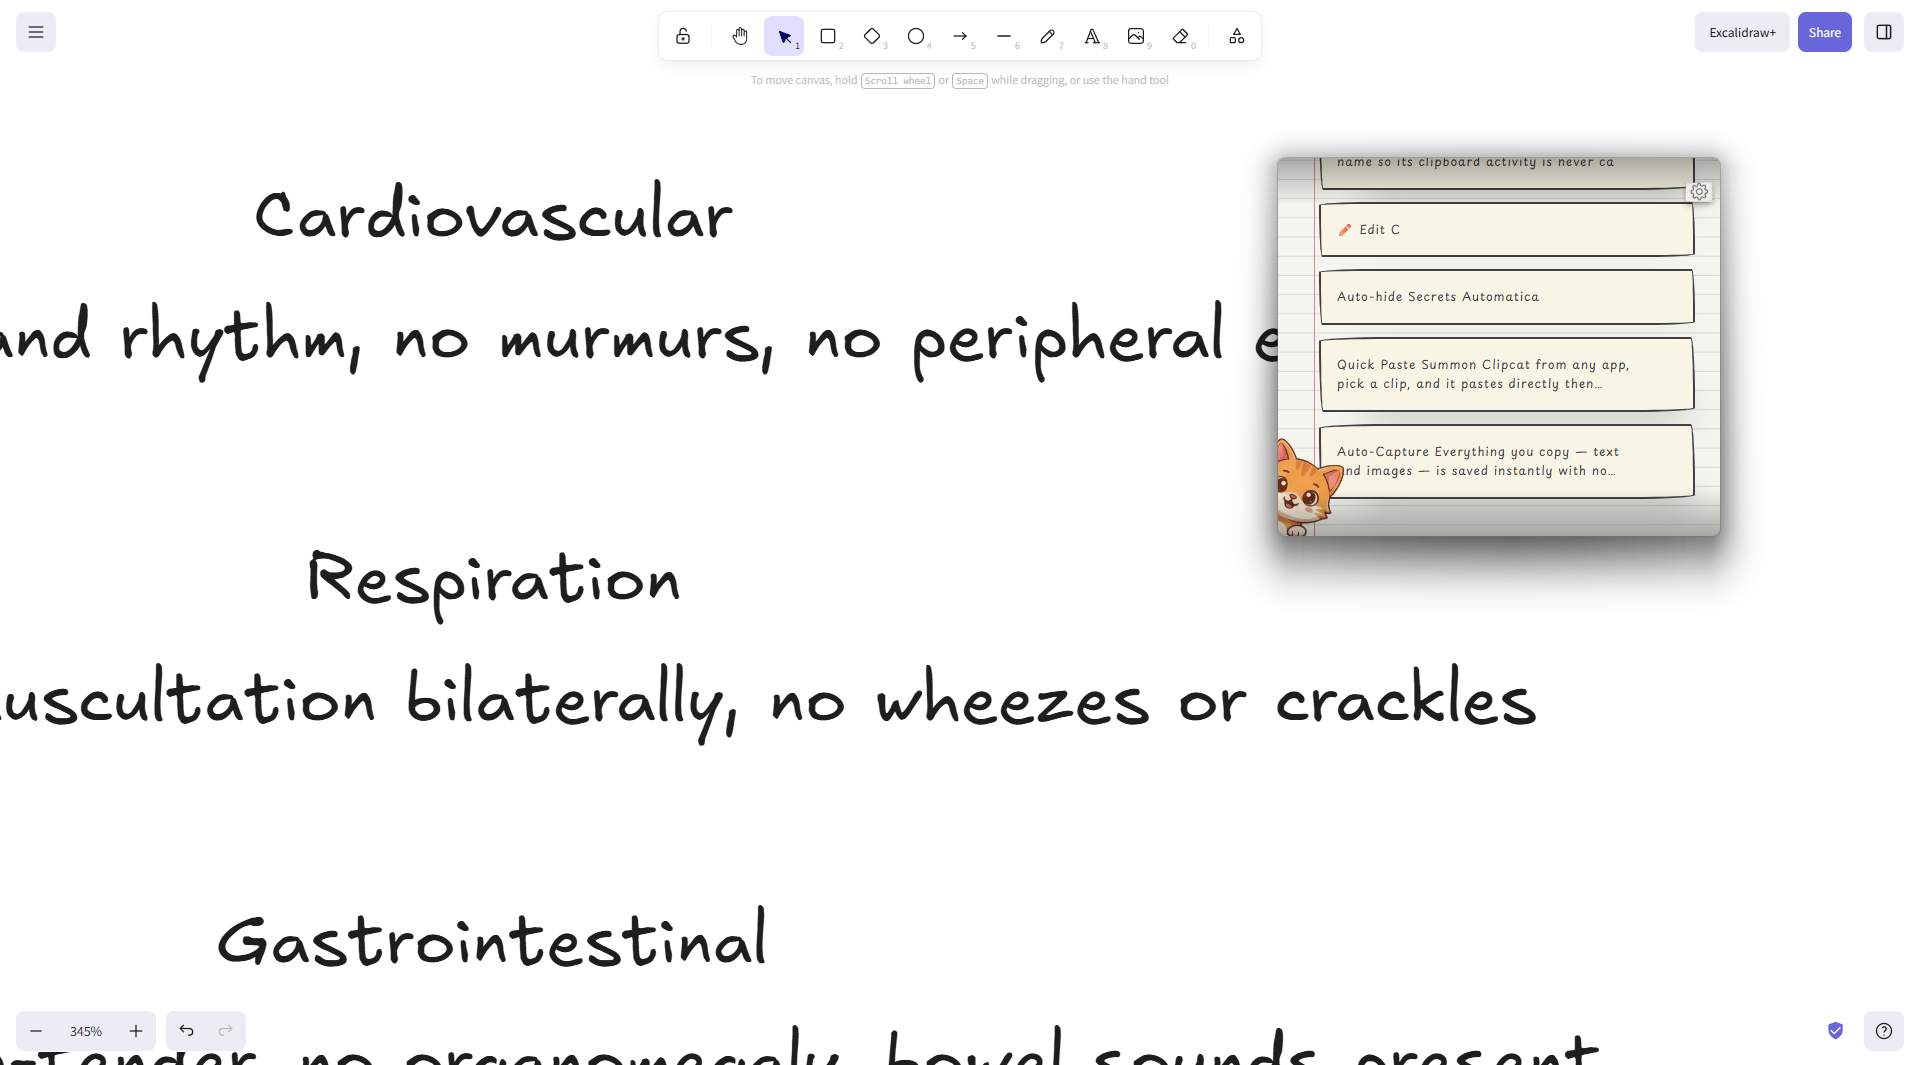
- Clipcat appears. Pick a clip with the mouse, or use the arrow keys and press Enter
- The clip pastes into the window you were using, and Clipcat goes away
Turning on Quick Paste also turns on Mini Clip mode, because the two work together. You can also reach Quick Paste from the ⚡ button in the toolbar next to Search.
Pin Clips
Click the pin icon on any clip to lock it to the top of your list. Pinned clips are never pushed out when the storage limit is reached, regardless of how many other clips come in.
Labels
Tag any clip with a custom label to sort your history. A label filter bar appears above your clips. Click any label to show only the clips with that label.
Instant Search
Press Ctrl+F (or ⌘+F) to focus the search bar and filter your entire clipboard history in real time. Works across clip content, not just titles. On small screens (tablets or narrow windows), the search bar collapses into a toggle button to save space - same as in Mini Clip mode.
Edit Clips
Click the pencil icon on any clip card to open an inline editor. Fix typos, update content, or rewrite the clip entirely - no need to re-copy from the original source.
Privacy Mode
Press Alt+H to instantly blur all clip content. Useful when:
- Screen sharing in a meeting
- Working in a public place
- Presenting to others
The blur stays on until you switch it off. Clipcat remembers it, so clips are still blurred the next time you open the app.
Auto-hide Sensitive Clips
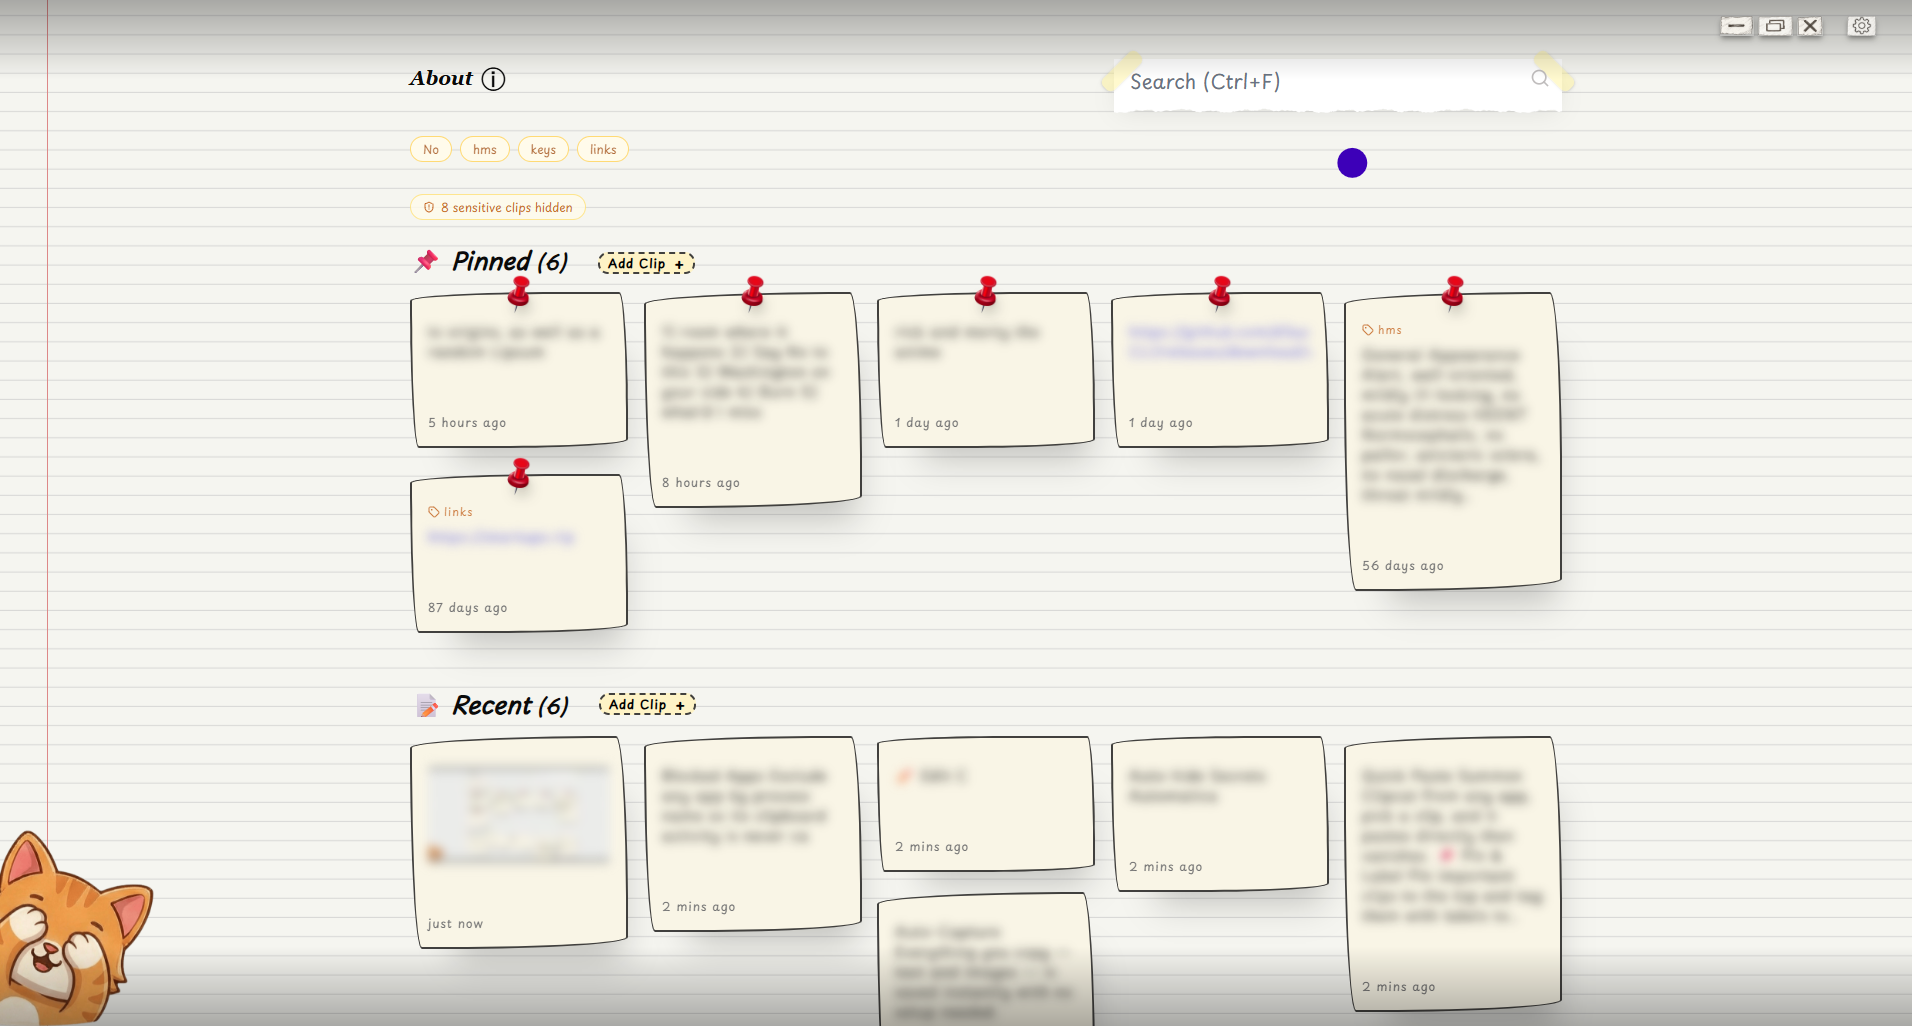
Clipcat reads every clip you copy and hides the ones that look like:
- Passwords
- API keys and tokens
- JWTs
- Private keys
- Long random-looking strings
Hidden clips are kept out of view by default. A Sensitive button appears in the toolbar when any clip is hidden. Click it to show them, and click the shield button on a card to mark that clip as safe. Turn the whole feature on or off in Settings -> Clipboard.
Blocked Apps
Add a process name (for example 1password.exe or Bitwarden.exe) in Settings -> Privacy -> Blocked Apps, and Clipcat will never save clipboard content from that app.
It works by checking which window is in front when the clipboard changes. If that app is on your list, the clip is thrown away before it is saved.
Clipcat already blocks the usual password managers for you: 1Password, Bitwarden, Dashlane, Enpass, KeePass, LastPass, NordPass, and RoboForm. If you want Clipcat to capture from one of them, remove it from the list.
Mini Clip Mode
A smaller window that stays out of the way. Toggle it with Alt+M. Clipcat remembers whether you left it on. Mini Clip mode also keeps the window on top of other windows, so there is no separate setting for that.
Smart Position
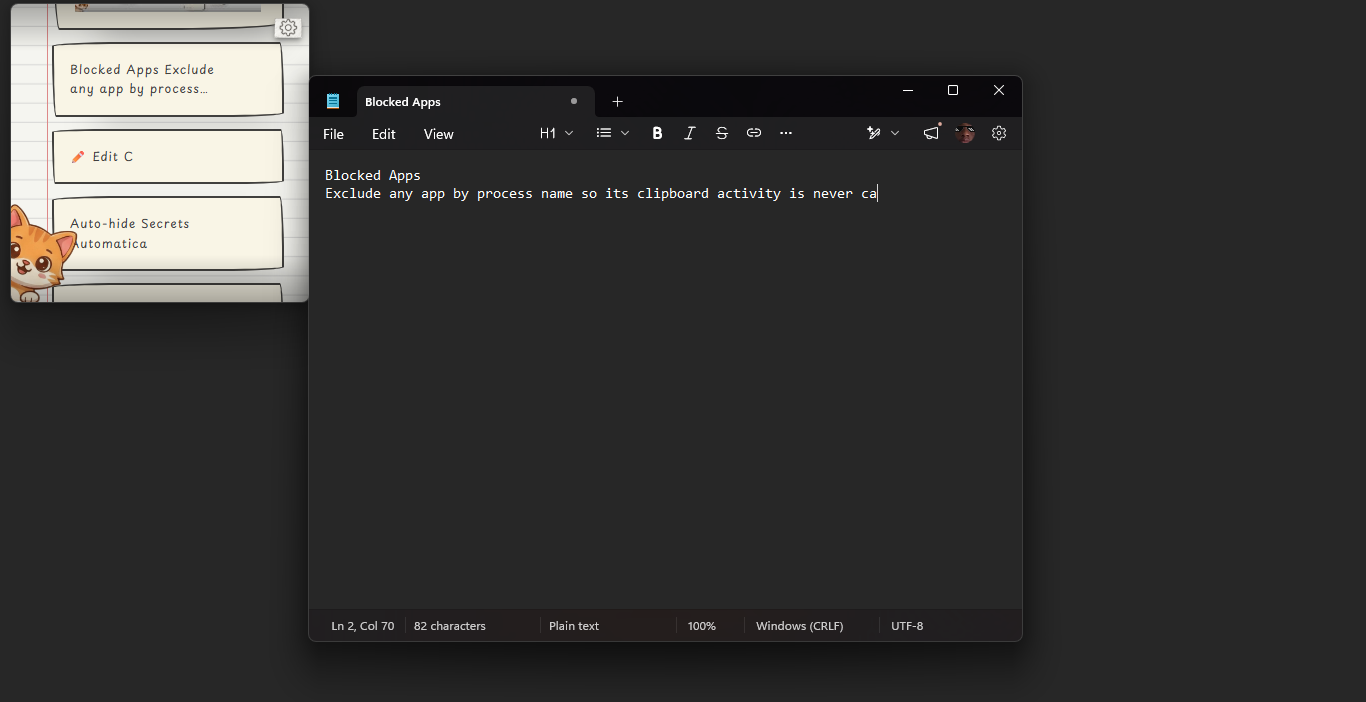
When Quick Paste summons the Clipcat window, Smart Position moves it right next to your cursor so it's immediately within reach. No hunting across the screen.
- Positions the window below-right of the cursor by default
- Flips horizontally or vertically when the window would clip off the screen edge
- Fully clamped to stay on-screen in all cases, including multi-monitor setups
- On by default. Toggle in Settings -> Window (only applies while Quick Paste is enabled)
Pause Capture
Temporarily stop recording clipboard changes without quitting the app. Useful when working with sensitive data you don't want stored. Toggle in Settings -> Clipboard.
Bulk Delete
Clear your history in one click. You can delete all clips, only pinned clips, or only unpinned clips. Find these buttons under Settings -> Privacy.
Clipcat always asks for confirmation first, so you cannot wipe your history by accident.
Manual Clip Creation
Add clips directly from within the app using the + Add Clip button. You can optionally pin the clip from the creation dialog.
Clickable Links
URLs detected inside clip text are automatically rendered as clickable links. Click them to open in your default browser.
Relative Timestamps
Every clip shows a live-updating relative time: "2 minutes ago", "yesterday", "3 days ago".
Sound Effects
A short sound plays for each action. Toggle it with Alt+S or in Settings -> System.
Configurable Storage Limit
Choose how many clips to keep, from 100 to 500 in steps of 50. When you reach the limit, Clipcat removes the oldest clips that are not pinned. Pinned clips are never removed. Adjust this in Settings -> Clipboard.
Command Palette
Press Ctrl+K (or Ctrl+Shift+P) to open the command palette. It lists every quick action in Clipcat, so you can switch things on and off without opening Settings.
The palette shows up in the middle of the screen, grouped by category. Type to filter the list, and press Escape to close it. It holds Focus Search, Enable or Disable Quick Paste, Enter or Exit Mini Mode, Show or Hide Content, Mute or Unmute Sounds, and How to Use Clipcat.
LAN Sync
Sync your clipboard across devices on the same local network, end-to-end encrypted. Every clip you copy is broadcast to connected peers in real time.
- End-to-end encrypted using AES-256-GCM with a key derived from a shared passphrase
- Peer discovery via mDNS - no configuration, no server, no account
- Real-time sync - clips arrive on connected devices as you copy them
- Works for text and images
- Configure in Settings -> Network
Enable LAN sync, set a passphrase (peers on other machines use the same one), and devices on your network find each other automatically. The peer count shows how many devices are currently connected.
Load on Startup
Optionally launch Clipcat automatically when your system starts. Toggle in Settings -> System.
System Tray
Clipcat lives in your system tray. Click the tray icon once to show or hide the window. Right-click it for a menu with Show Clipcat, a Quick Paste checkbox, a Pause Capture checkbox, and Quit.